
I’ve been doing a lot of 3d stuff of late. Primarily, using freely available sketchup models to place objects then take screen shots which I then drop into clip studio to draw over.
Sketchup is a phenomenal (and free!) tool for this, and has a massive library of prebuilt objects to play with.
And while sketchup’s 3d naviation is pretty good, it’s pretty frustrating to do everything this way.
It’d be better if I could go from the sketchup model straight into Clip Studio Paint, and I’ve finally figured out how to do this accurately.
You’re going to need:
Sketchup (obviously) Clip Studio Paint (d’oh!) and… Blender (WTF!!)
Blender is a free 3d modelling app, which is a little frustrating to work with but I’ll condense some basics for you.
I’m afraid I’m going to have to assume you have some basic skills in sketchup (like moving models, selecting things, etc)
Step 1: Find your 3d Object in sketchup.
Go to File->3d Warehouse->get models. And look for the model you want!
(I’ll wait)
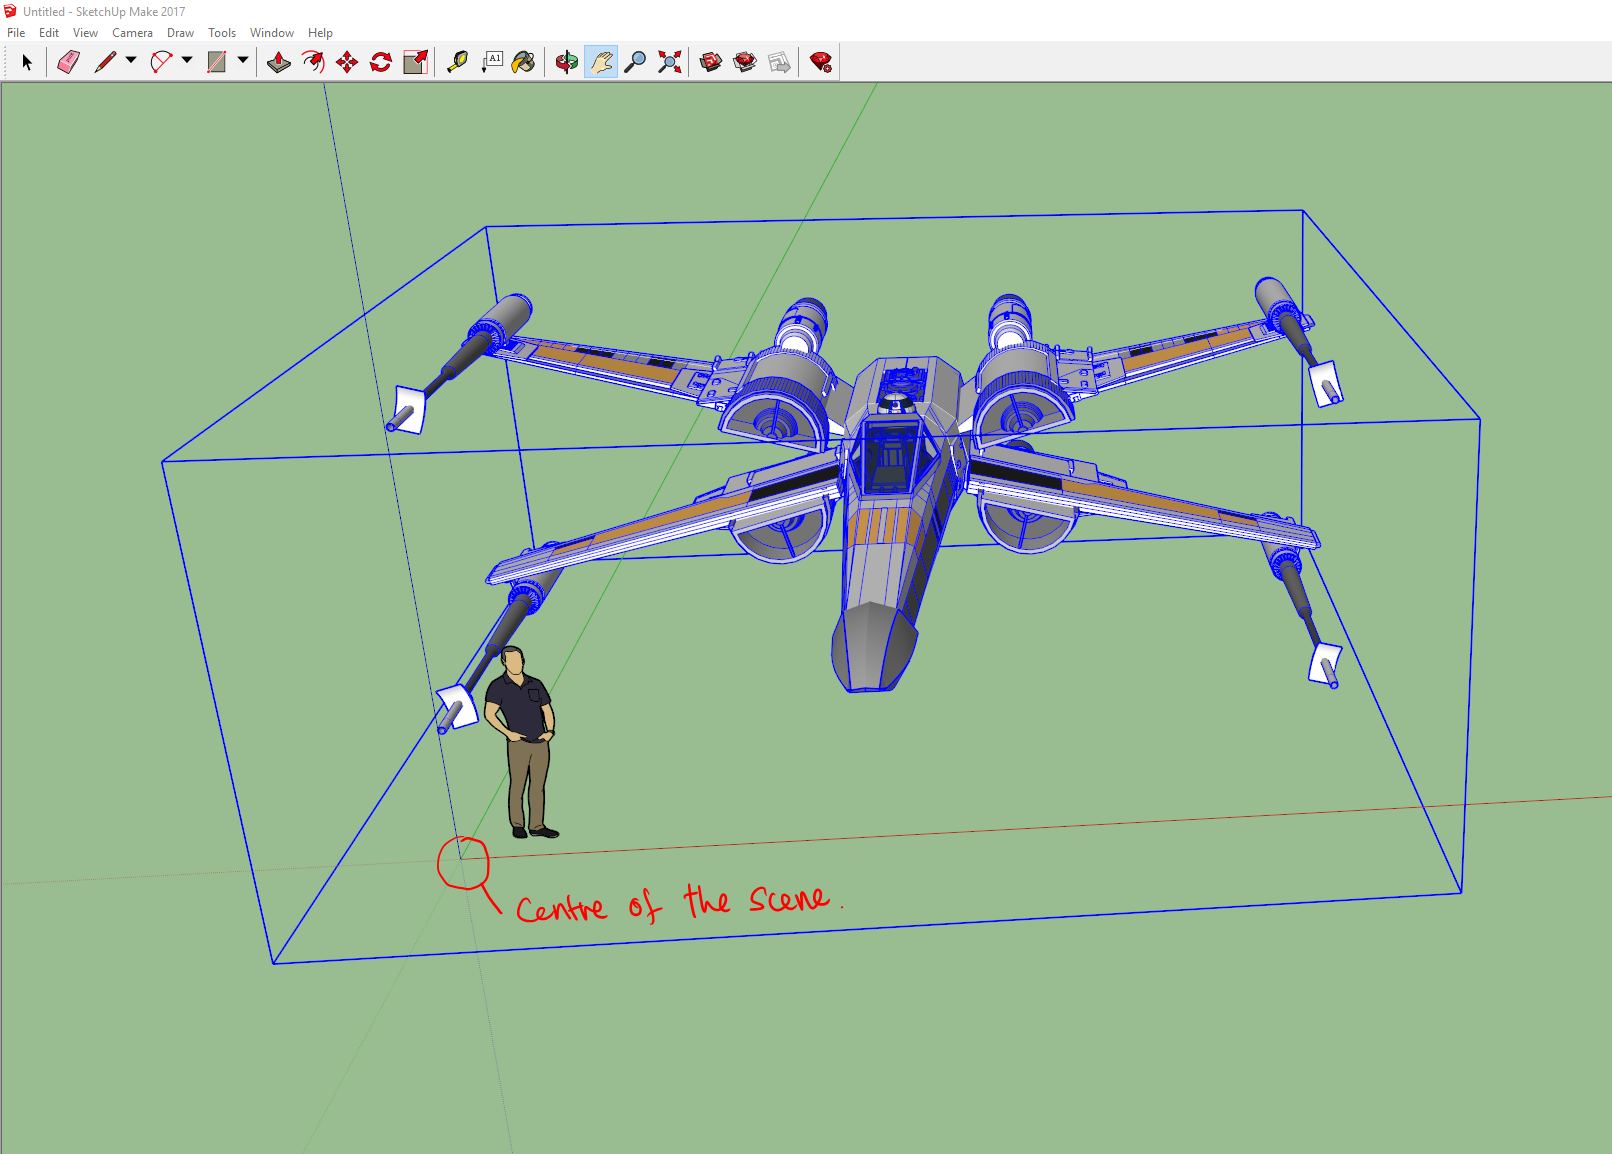
Once you have it, you want to place it in the centre of the sketchup scene (look for the lines and scale it to roughly the accurate size – often some models are either too large or too small) I find the easiest way to make sure you have it roughly the right size is to either eyeball it against the little guy that’s in the default scene or, better, to create a simple cube with the right width/length/height of the object (so if the final object is supposed to be 9′ 6″, I make a cube that height, then scale the object to that size.)
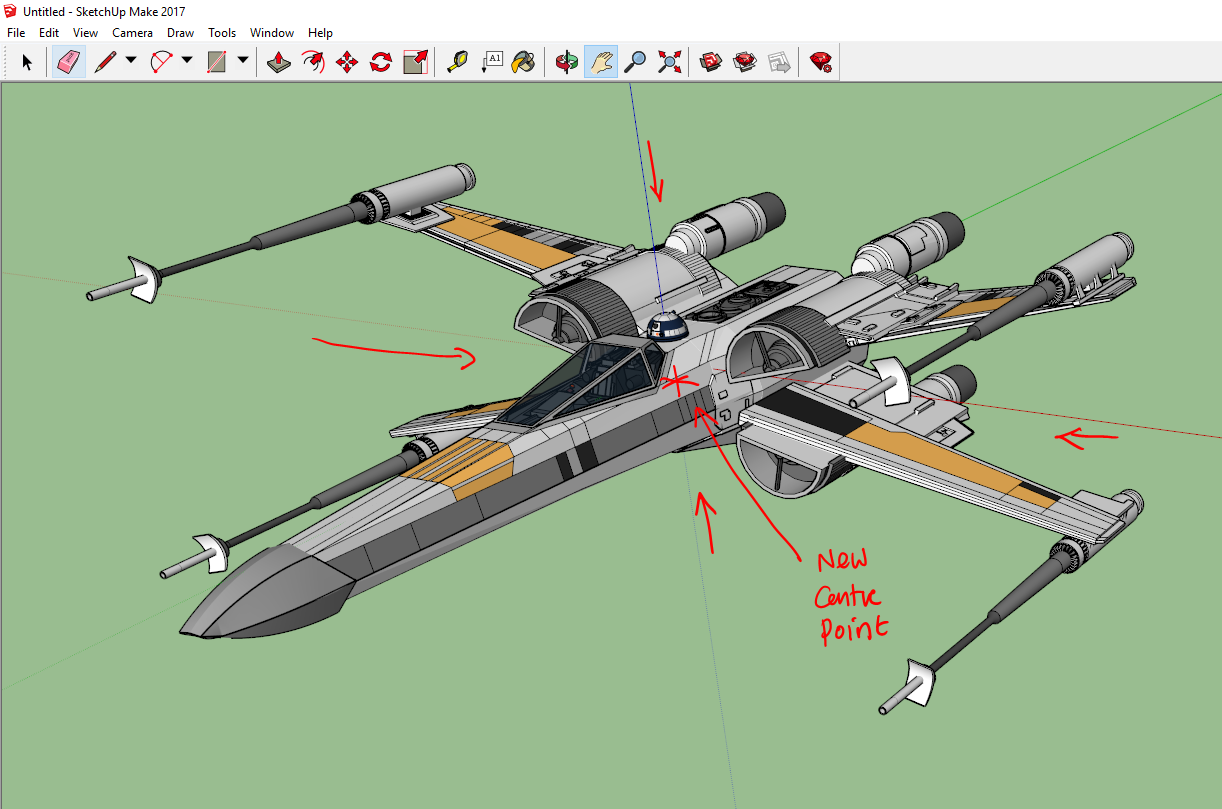
Next, I clean up the scene a little, delete any extra objects I don’t need (and if I have to, edit the model to remove stuff that’s extra/not required) and, importantly, move the centre of the object to match the centre of the scene – this is becomes the objects centre when rotating/etc in Clip Studio, so important to get right here!
Now we have to “explode” the model. Sketchup models are made up of groups of ‘components’ as well as basic primitive shapes. The components are often duplicates of other groups/collections, what this means is that a simple export will frequently not export everything you need. Exploding the object will break the components up in to their simple constituent parts. The thing is you will have explode and explode and explode again, as often there’s a hierarchy to how the model is built. Sounds complex, but it’s pretty simple.
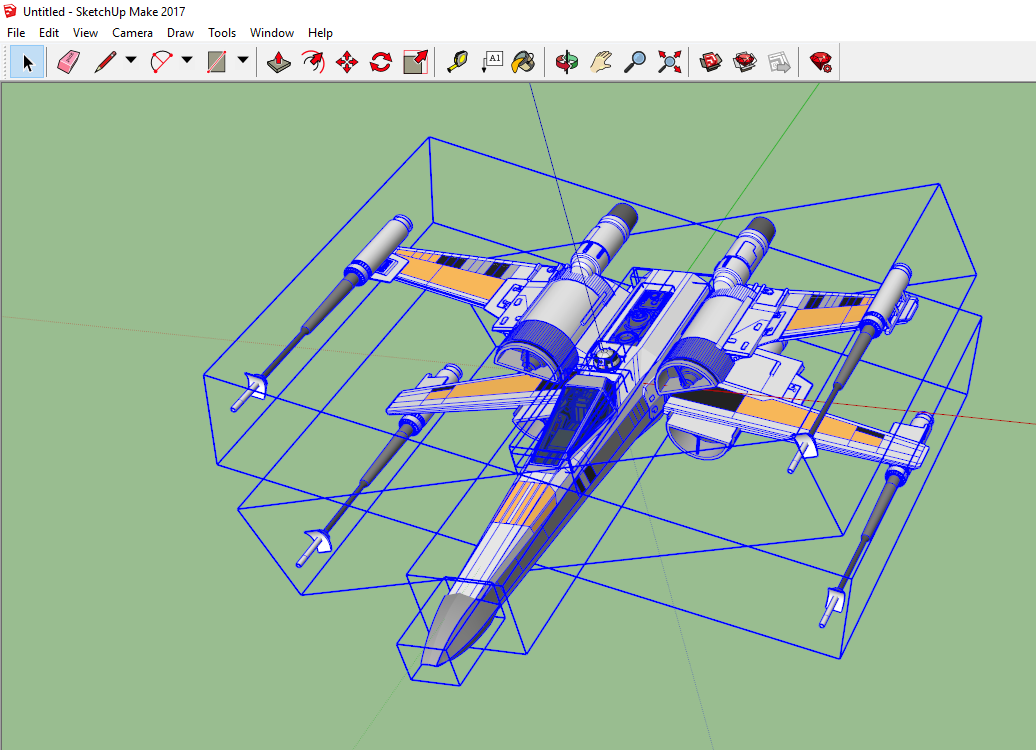
Step 1: Select the model. Hit explode!
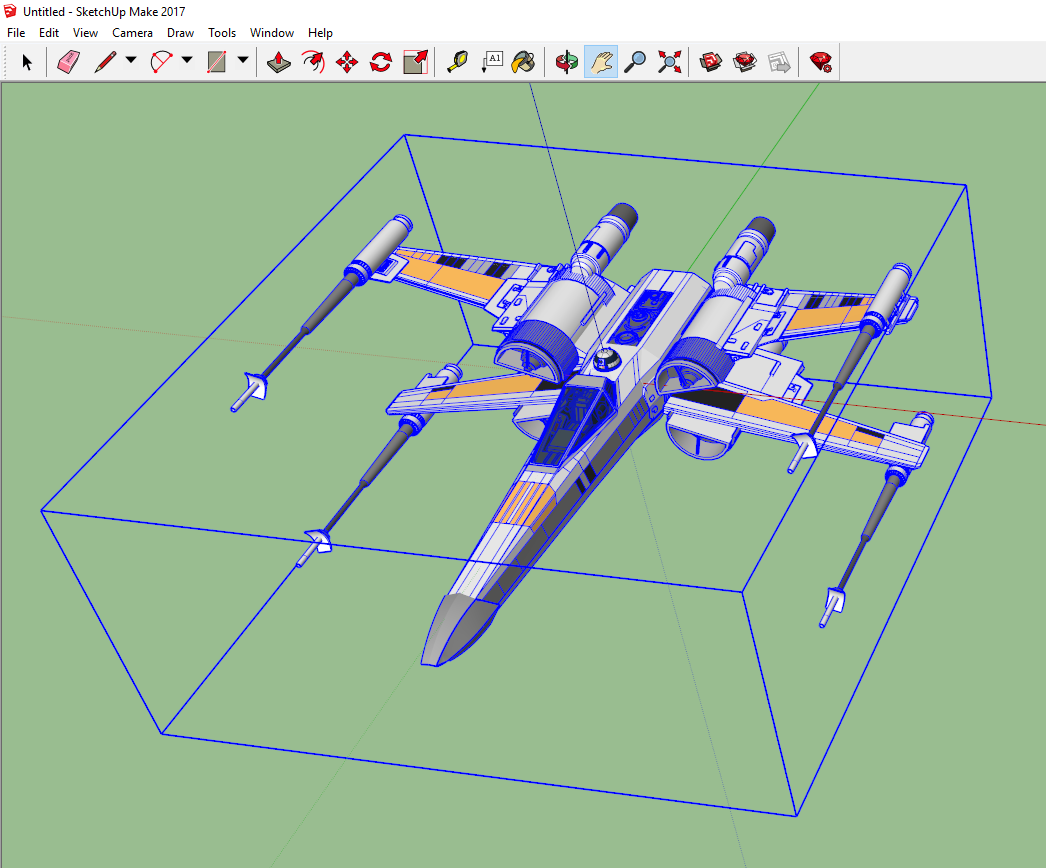
Here we’ve selected it, prior to the first explosion. Once selected, use EDIT->COMPONENTS (1 in model)->Explode
This will start the breaking down process.
Without selecting anything else, repeat
EDIT->COMPONENTS (1 in model)->Explode
(The number ‘1 in model’ will be different depending on your model)
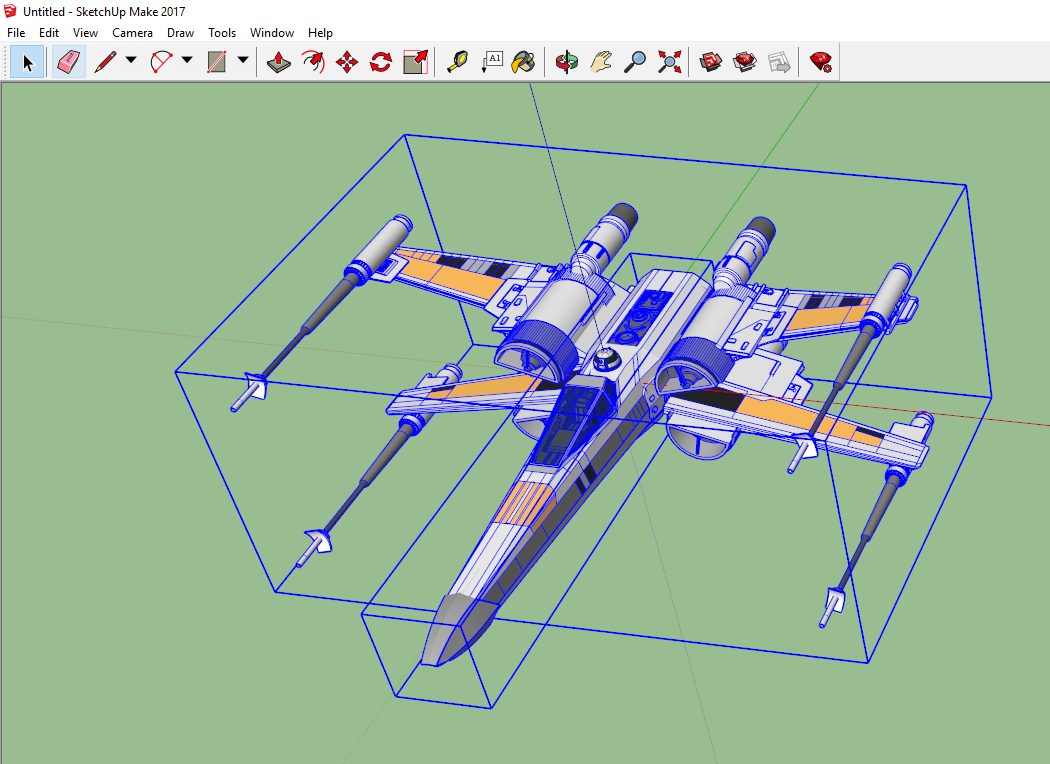
At this point, on this particular model you should start seeing more blue boxes around things. (BTW every model will break down in slightly different ways, and may require more or less steps)
Again don’t select anything – the edit menu might change a little, in this case we’ve broken one component down into two groups, so we select:
EDIT->2 Groups->Explode
(The ‘2 groups’ will have replaced the ‘1 Component’ menu item – and again, this is particular for this model, the wording may be slightly different on your model, but the basic principle remains the same)
There should be more blue boxes (generally you’ll see blue boxes around groups of objects and blue outlines around components, and blue dots around basic shapes)
We keep repeating the explode process until the menu option greys out the word explode.
If you accidentally deselect anything, the easiest thing to do is to draw a selection box around the entire object, and continue on.
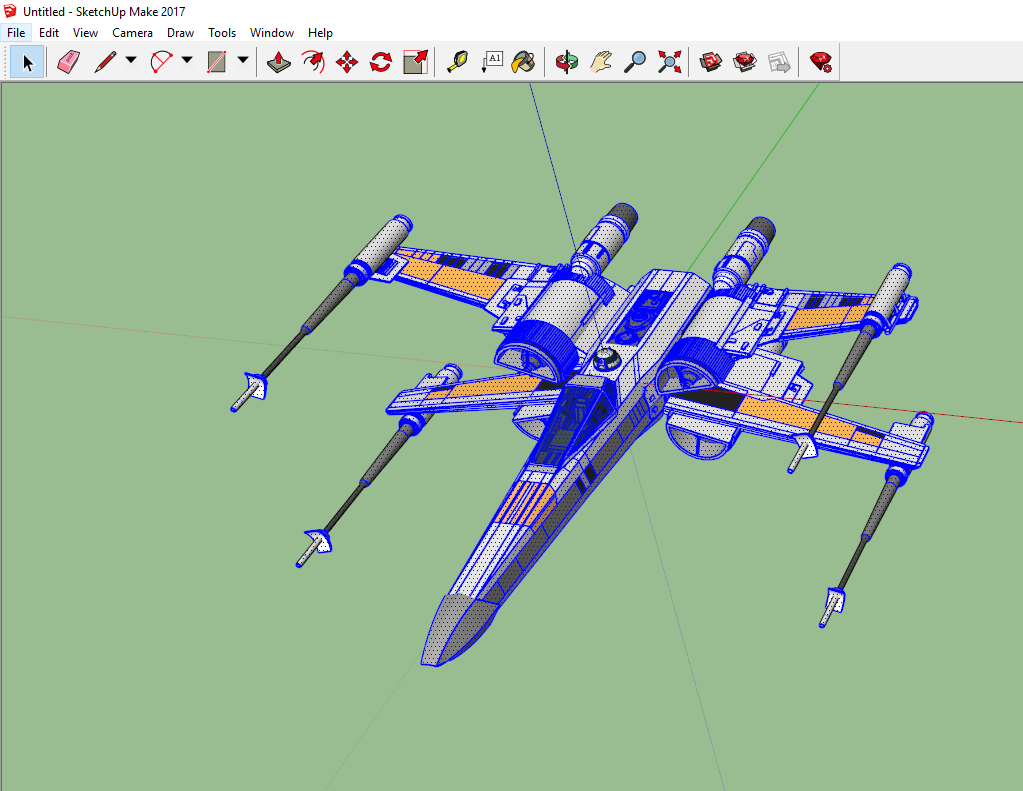
We keep going until we’re unable to explode. And we’re left with nothing but several thousand ‘entities’ (the basic shapes)
Now we can export.
Using file-Export->3d Model…
We export a Collada DAE file (we’ll call this x-wing)
Unfortauntely, this isn’t enough to get us into Clip Studio. Now we need BLENDER!
Start up Blender (assuming you have it, if not – go get it, it’s free)
Blender is a fiercly complex program, luckily we only need to do a few things in it.
Step 1, we’ll delete blender’s default object (a cube) just hit the delete key and click ‘OK’ when asked if you want to delete it.
Step 2, file->import->Collada (DAE) object. And find then select your object you’ve just exported (I apologise for Blender’s weird visual interface, but wasn’t my doing)
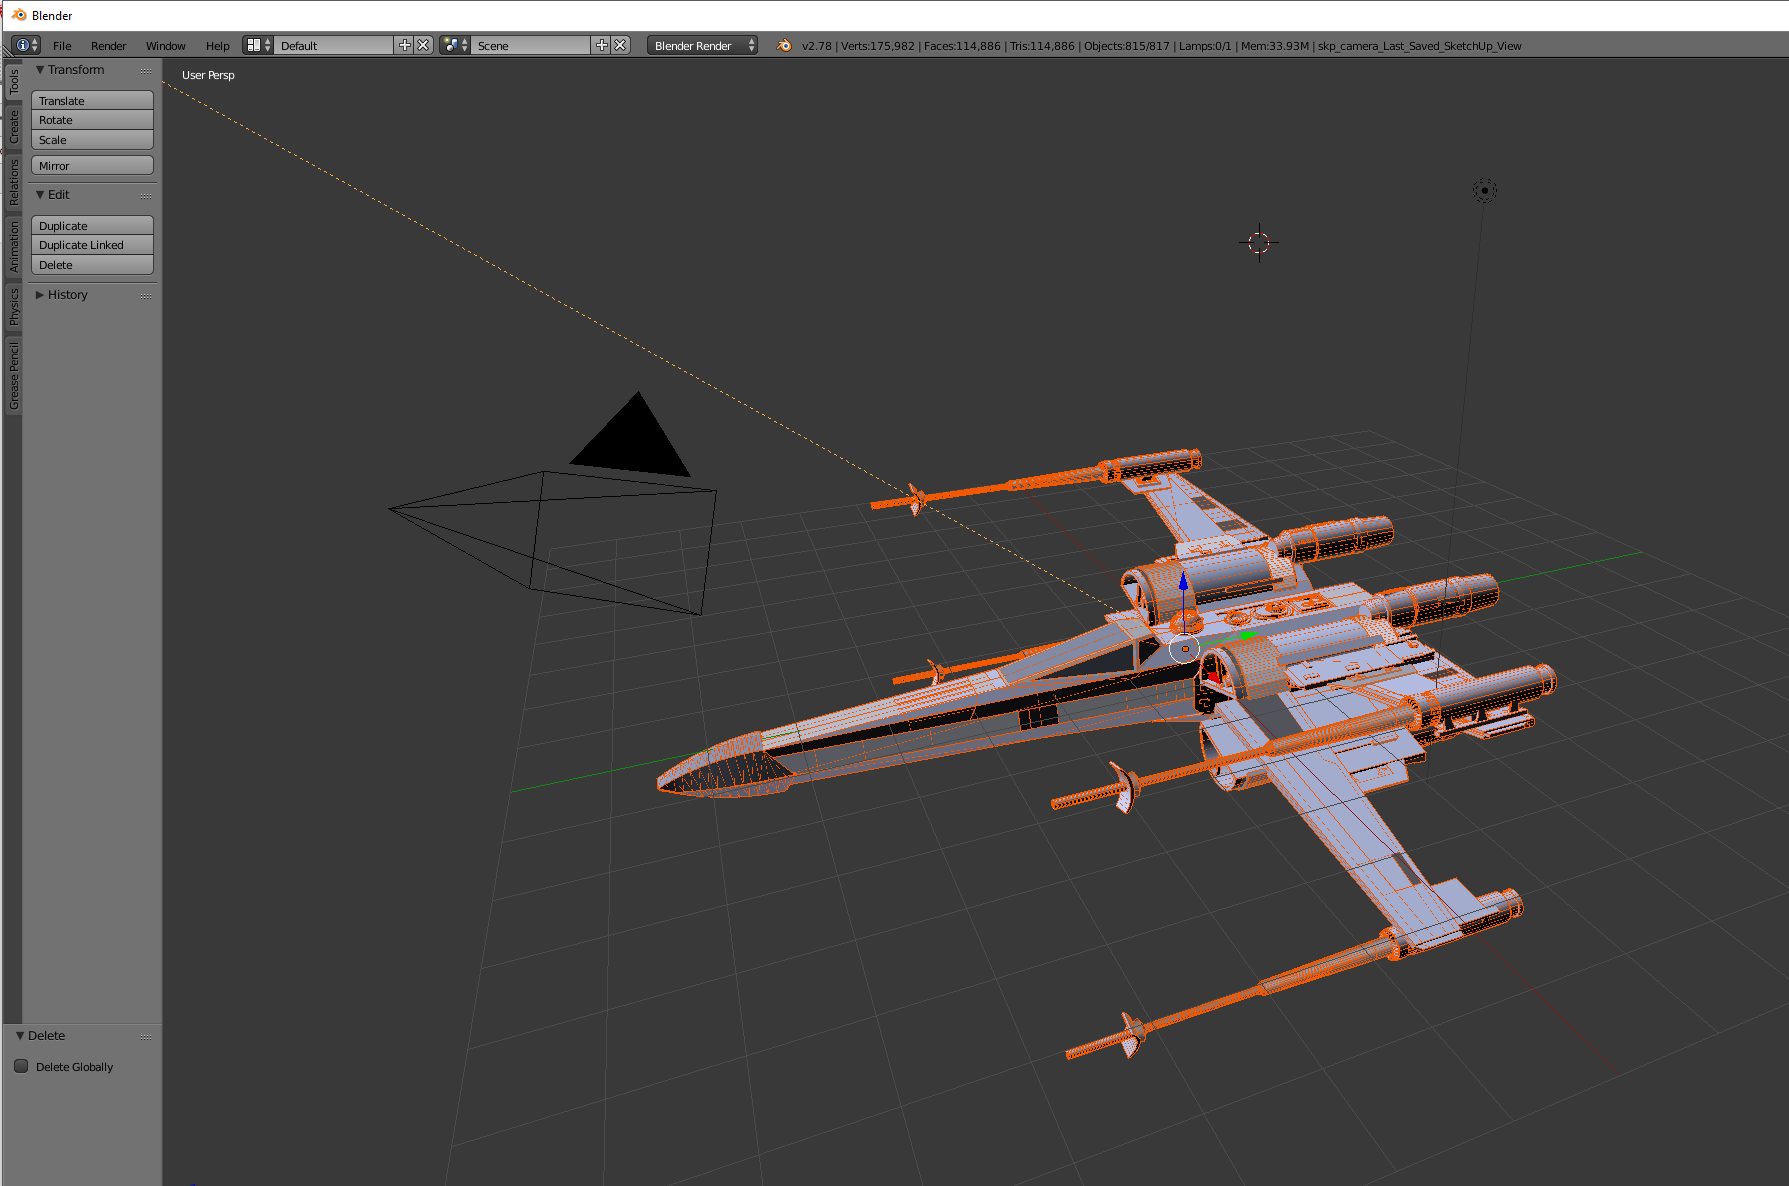
Step 3. File->Export->Wavefront (OBJ) and save it with a sensible name (here I’m going with xwing.obj)
And that’s it! Done with blender! You can now exit that program! (I’m trying to learn it a little, but boy-oh-boy it’s a nightmare!)
And now we can fire up Clip Studio Paint!
Now, getting an OBJ file into Clip Studio Paint is pretty simple matter of dragging and dropping – just find your 3d object and drag it on to a page. For reasons I haven’t figured out, sometimes that just doesn’t work, and you need to use file->import 3d data, but as long as it’s an obj file it should work fine.
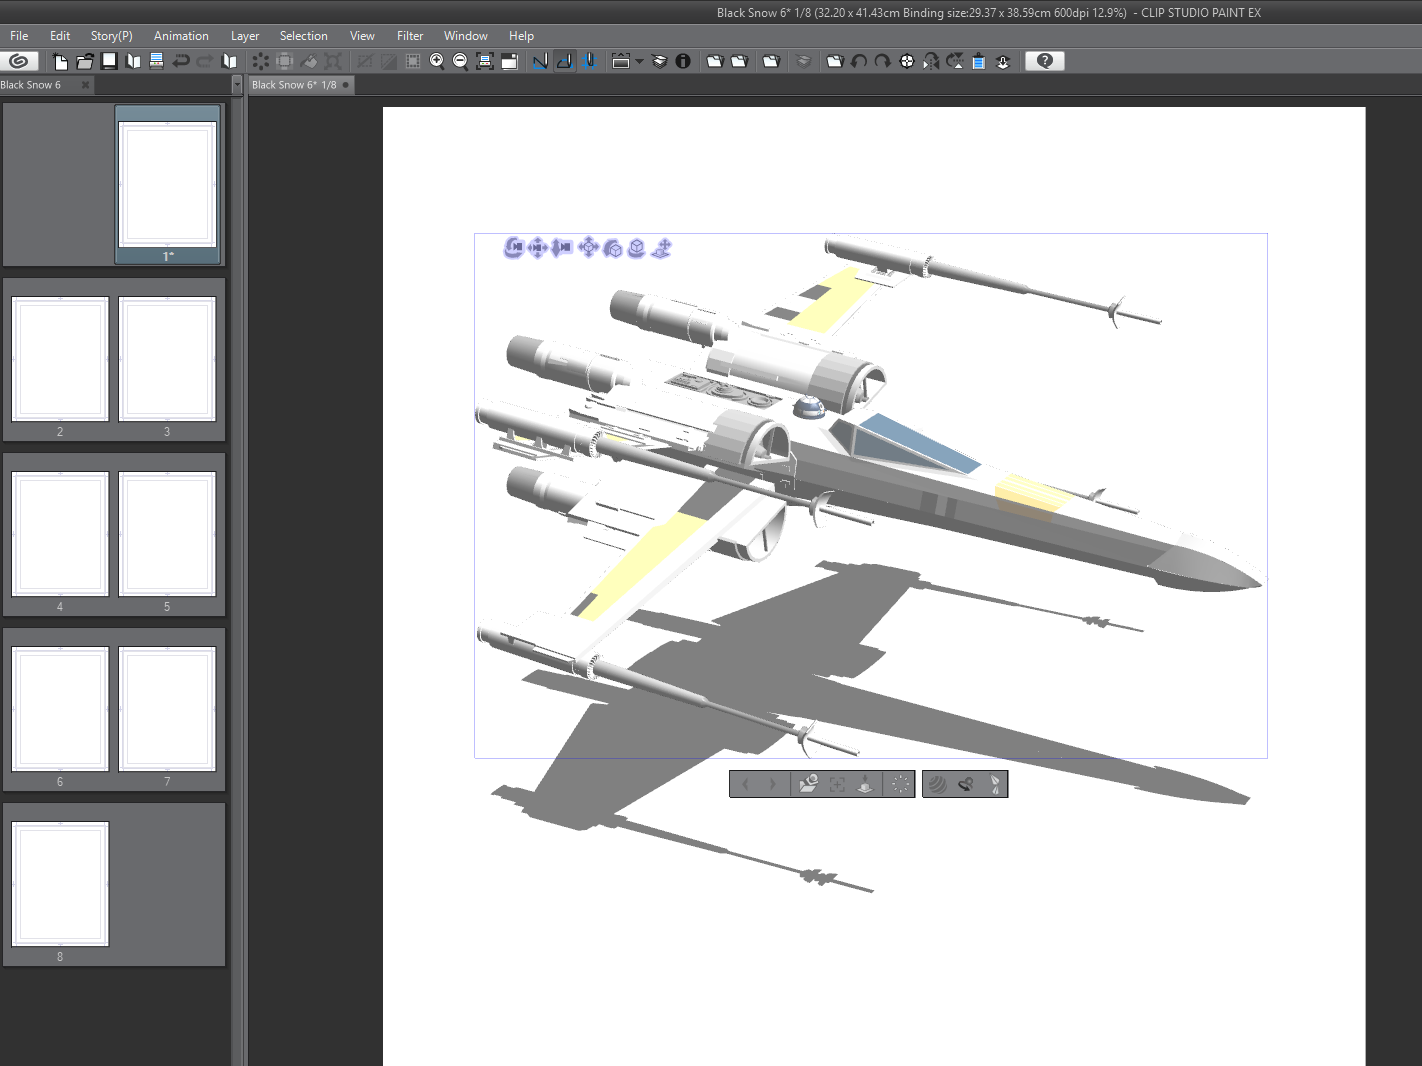
Model in Clip Studio Paint
Now we can either trace over this by hand, or convert it to an LT layer (basically leaving CSP to trace over the model)
I often convert to an LT layer and trace over that by hand, since i find it leaves the 3d model more ‘readable’ (for want of a better word)
(You find the ‘LT Conversion of layer…’ on the layer’s menu on the layer window – lots of options in this, so play around and see – though it can take a few moments to process when doing so)
Here’s the same model converted to an lt layer…
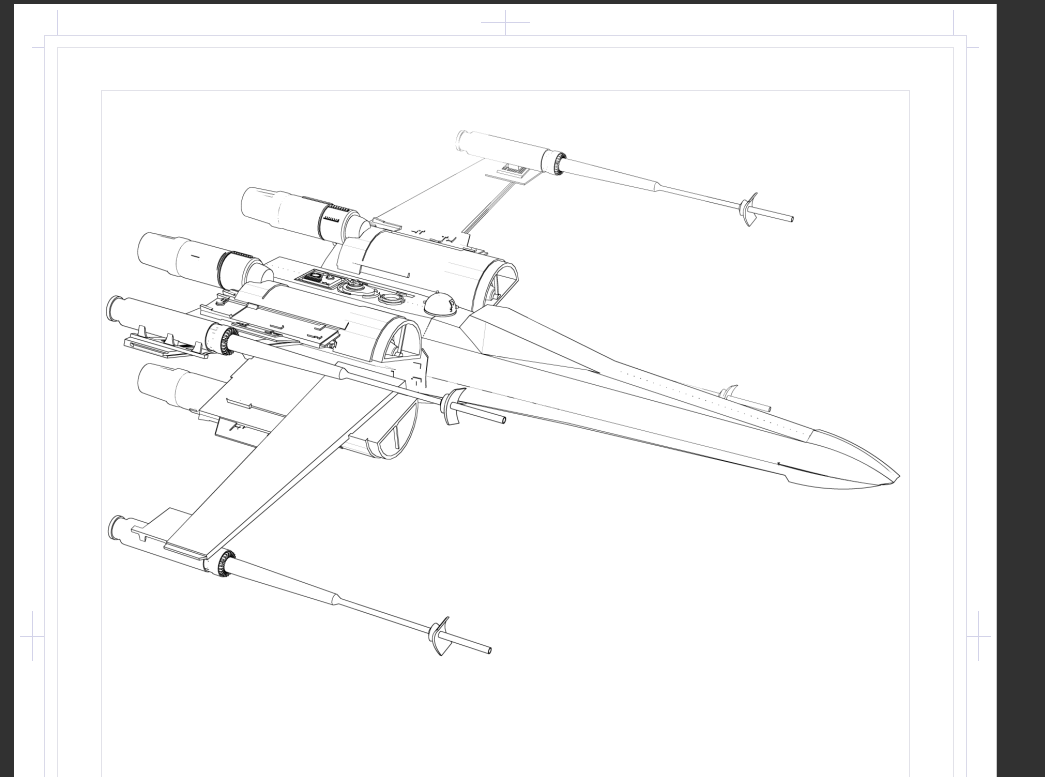
And that’s it. There’s LOTS more to play around with and consider (but they require more in depth knowledge of each package, there’s many great things you can do in blender in particular to help make the objects in CSP a little more readable for tracing over).
This knowledge was pretty hard won (seems simple now, but it really was experimental digging) would appreciate it if you can direct people over to the patreon if they want to see how to do it fully…