


One of the dullest and yet something you do multiple times per page job is drawing panel borders. There’s no right or wrong on any of this, it’s all entirely subjective, and I’d argue all that’s important is consistency (in
Read More
Category: Process
Anatomy in Perspective, thinking outside the box.
One of my many (many) drawing difficulties is the dead body lying on floor syndrome. This pushes one thing I think I’m good at (the human body) against another thing I really struggle with (perspective). Perspective isn’t hard, per se,
Read More
Tools of the trade: Rotring Isograph
The Rotring Isograph is a pretty old school architectural drawing pen. It comes in a bunch of sizes, and it was my tool of choice before any professional work came knocking. I’ve had to dig one of the old pens
Read More
Double time
Hello chums, I’m going to recap a thing I’ve touched on here before, the idea of the two things plan. Prior to covid I started this new process where I would chop my day up into doing two things. I
Read More
Chimpsky’s Law
NOTE: This was sitting in my draft blog folder, since uhm 2020ish, so you’re getting it now because it’s got art in it. Well, there’s been enough time, so here’s a few bits of art, for fun! It’s been great
Read More
Thinking inside the box
There are panels I lean on a lot, panel shapes, compositions, etc, and honestly, I’ll do them without thinking because they work for me, but I’m trying to rethink some of these choices and make more interesting (or at least,
Read More
Studio Tour (2023)
I’m due a studio tour, right? We’ve been in this house for around a year and there’s still a fortune worth of work to do. Outside of the studio we started by adding a new fence to the outside drive,
Read More
Funky Pencil Monkey
Spent a couple of days in a bit of a funk. The world is just … ugh. My mood has been dark (which, all jokes aside, I partially put down to binging Walking Dead which finally got to Neagan, a
Read More
Mutie Mayhem!
I don’t often just do a full piece for myself, but I’m off to cork this weekend and thought I’d do a very limited run of prints of a Judge Dredd piece. The inspiration came from watching the walking dead
Read More
Clip Studio Quick Access
I’ve refined my use of Clip Studio so much over the years (starting with Manga Studio 3(!) from 2006 – so coming up on twenty years) that sometimes when a new feature hits I don’t even bother with it, as
Read More
-
1
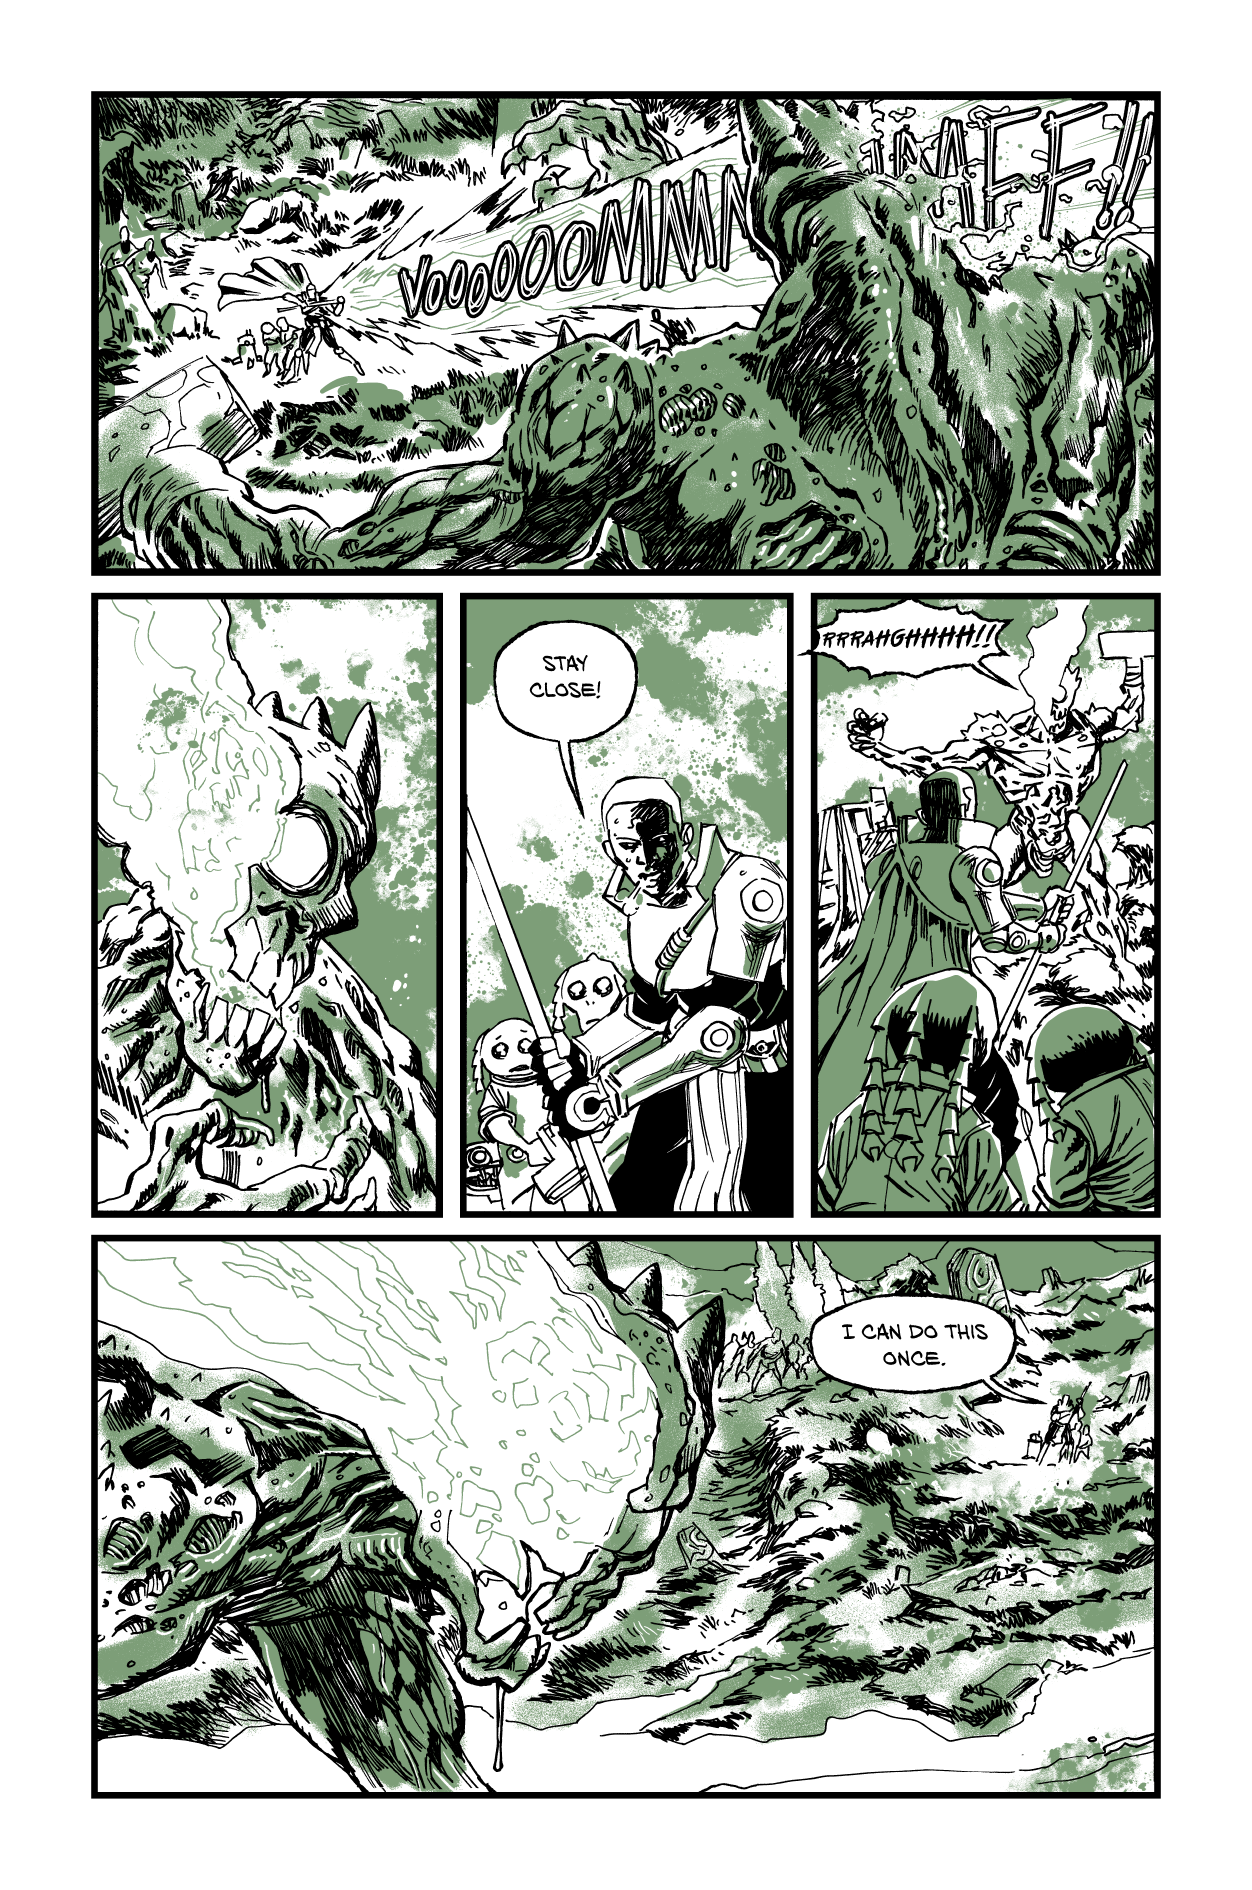
TO: The Ghosts of War ep2 pg15
3 68345 May 20, 2026
-
2
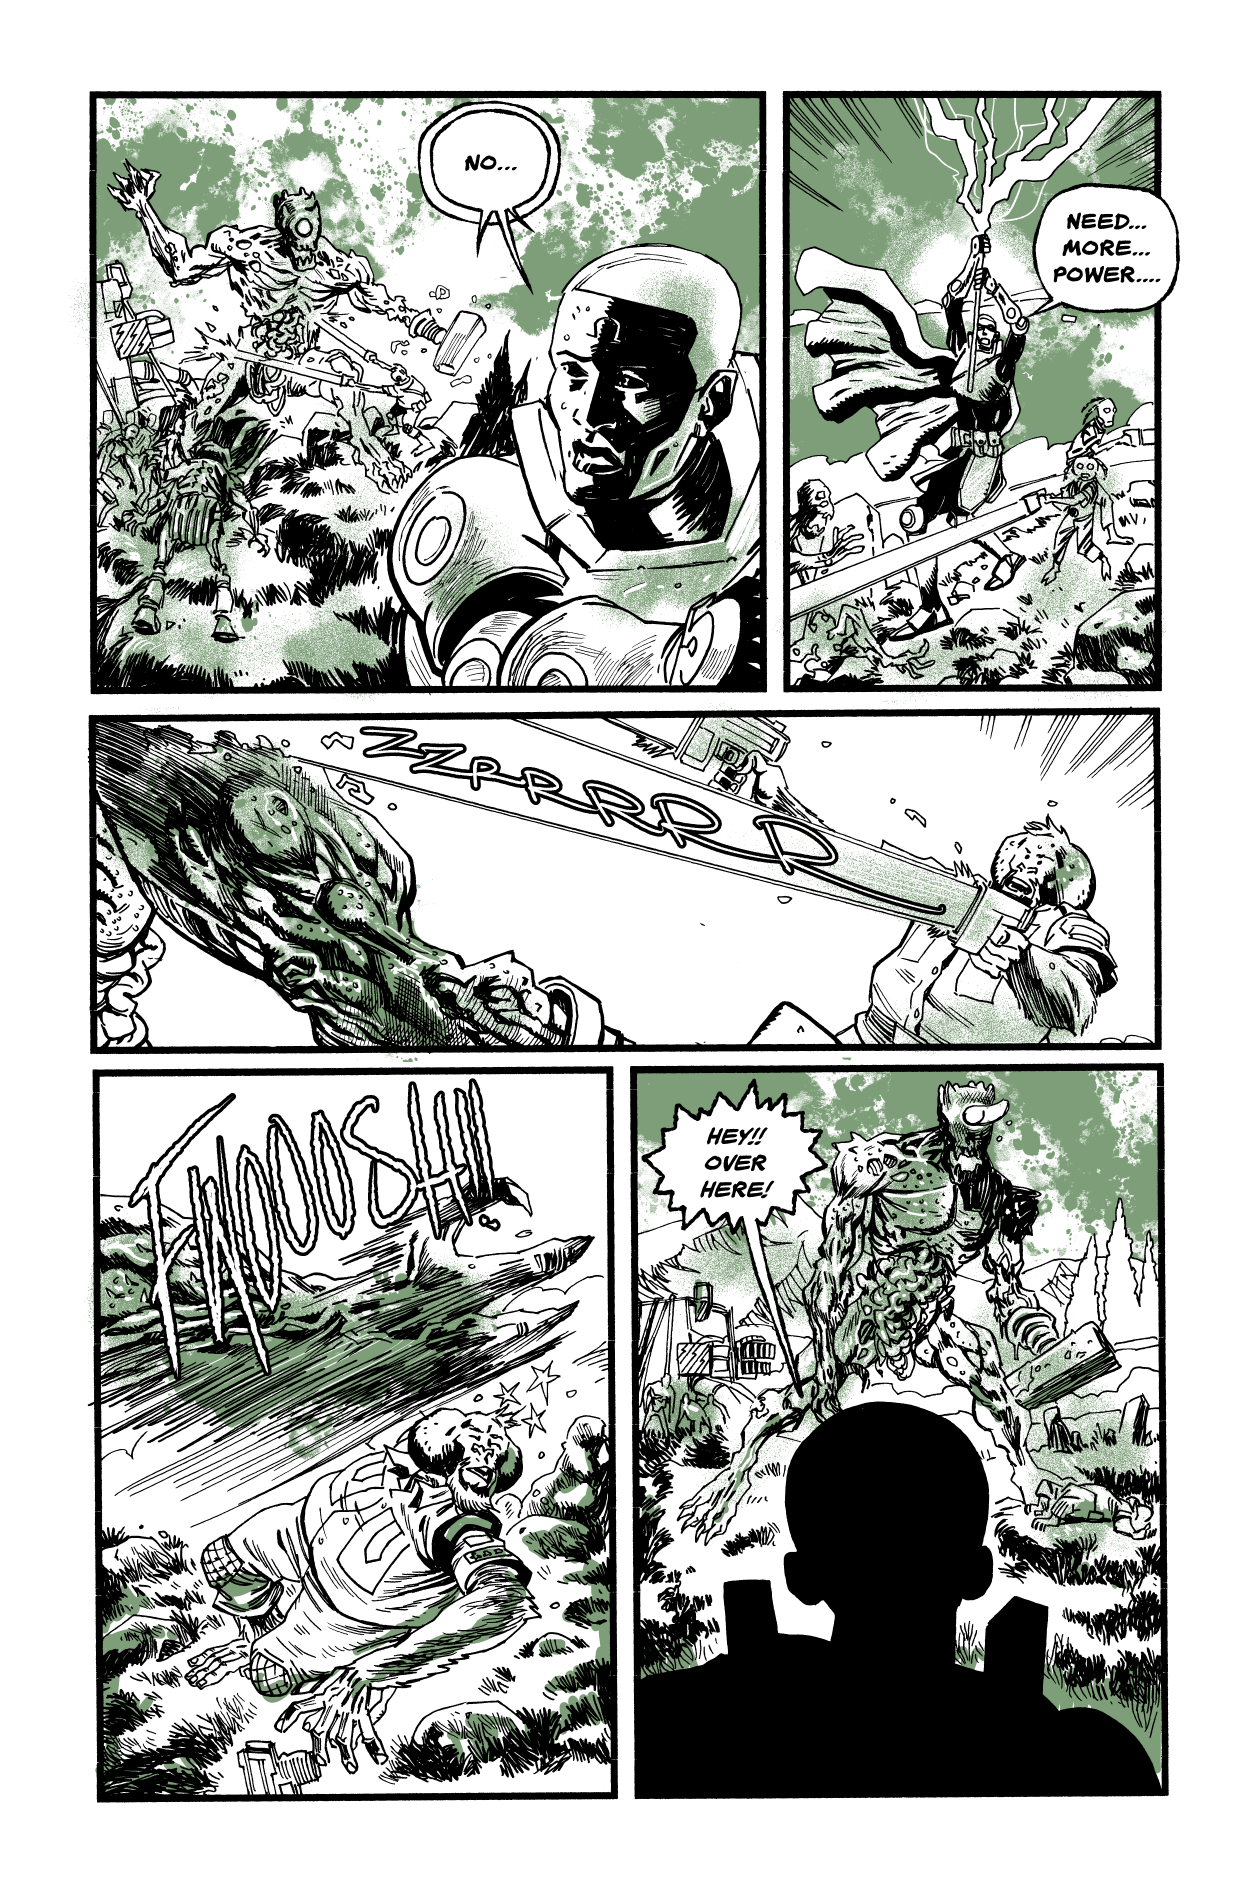
TO: The Ghosts of War ep2 Pg14
11 51092 May 13, 2026
-
3
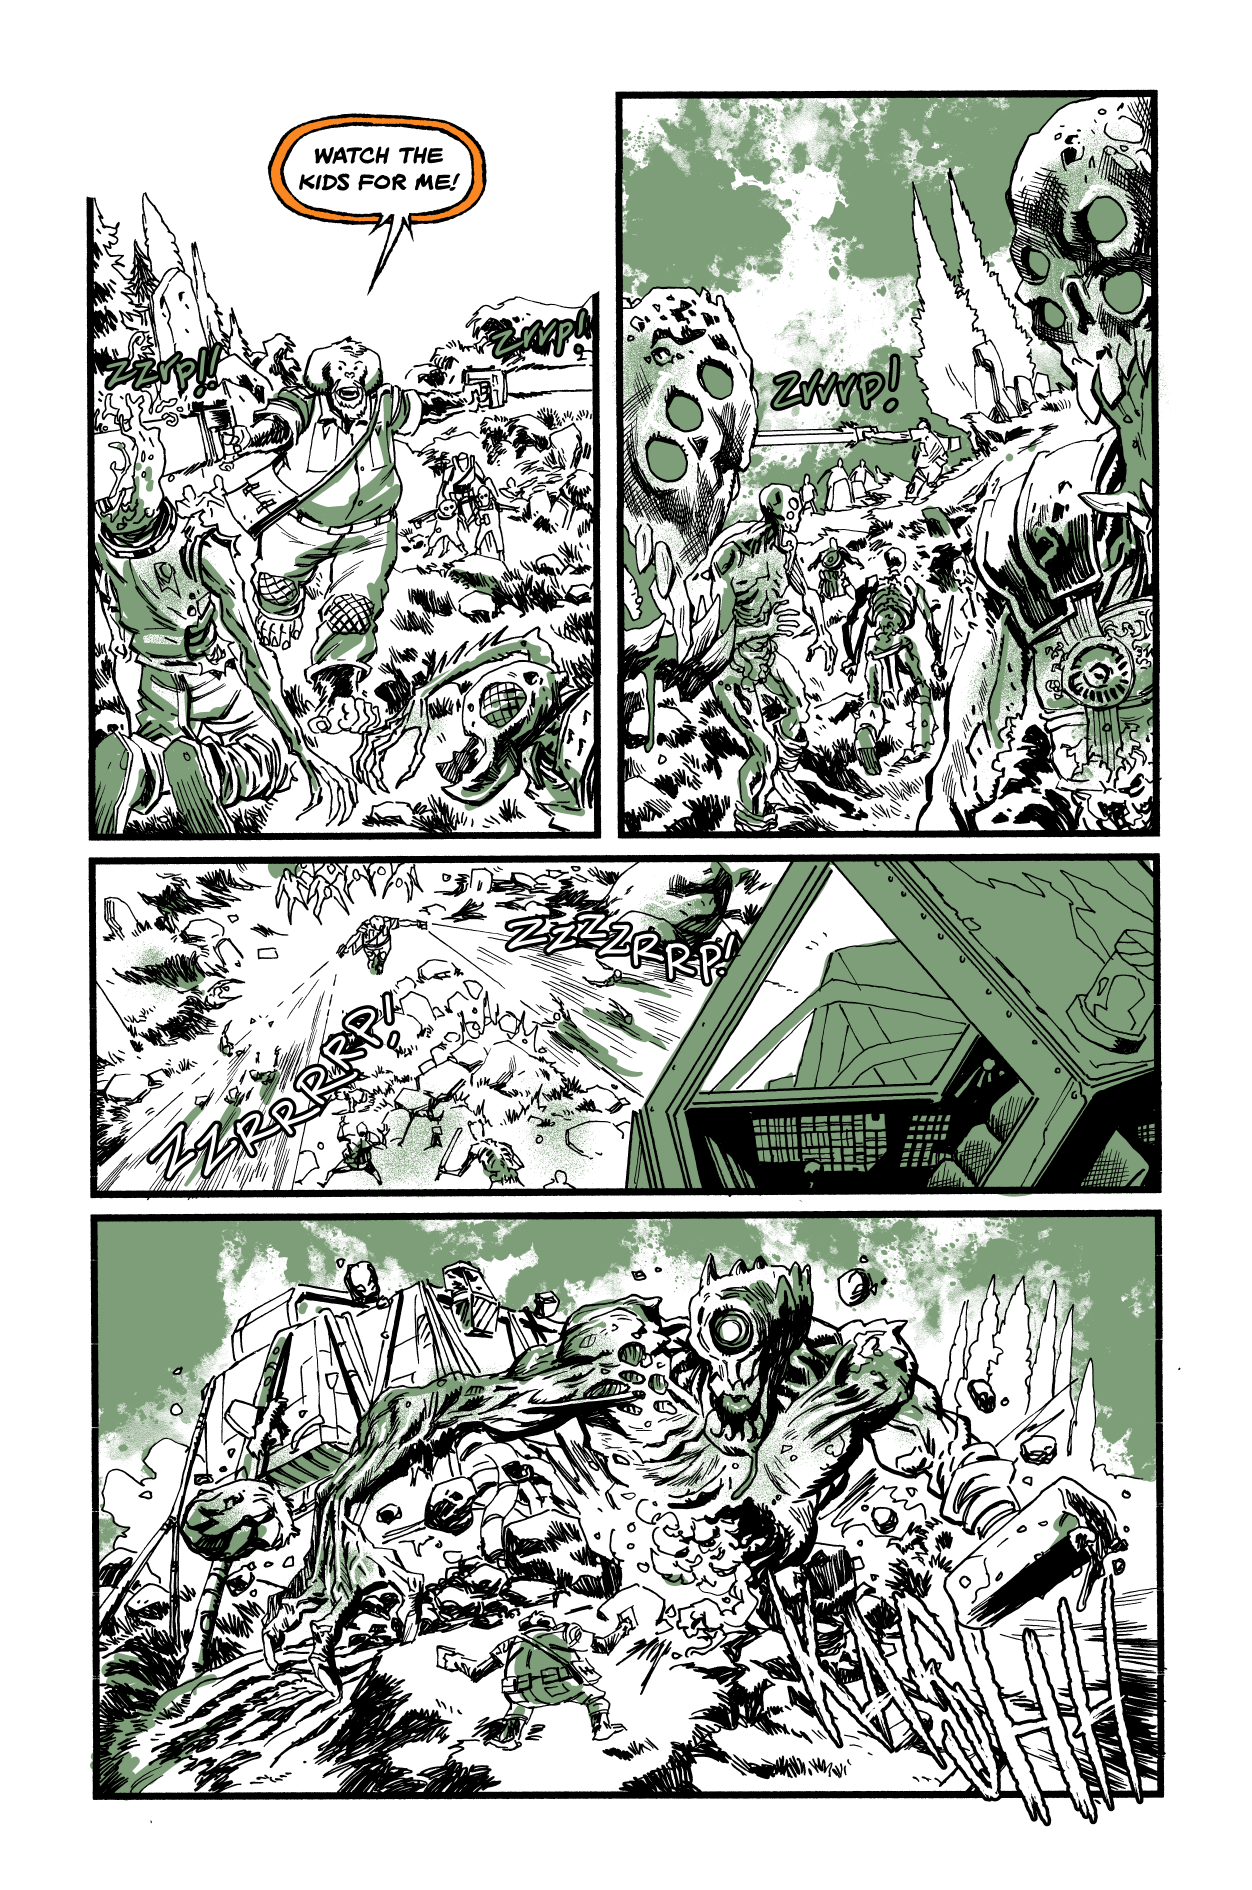
TO: The Ghosts of War Part 2 Page 13
4 31091 May 09, 2026
-
4
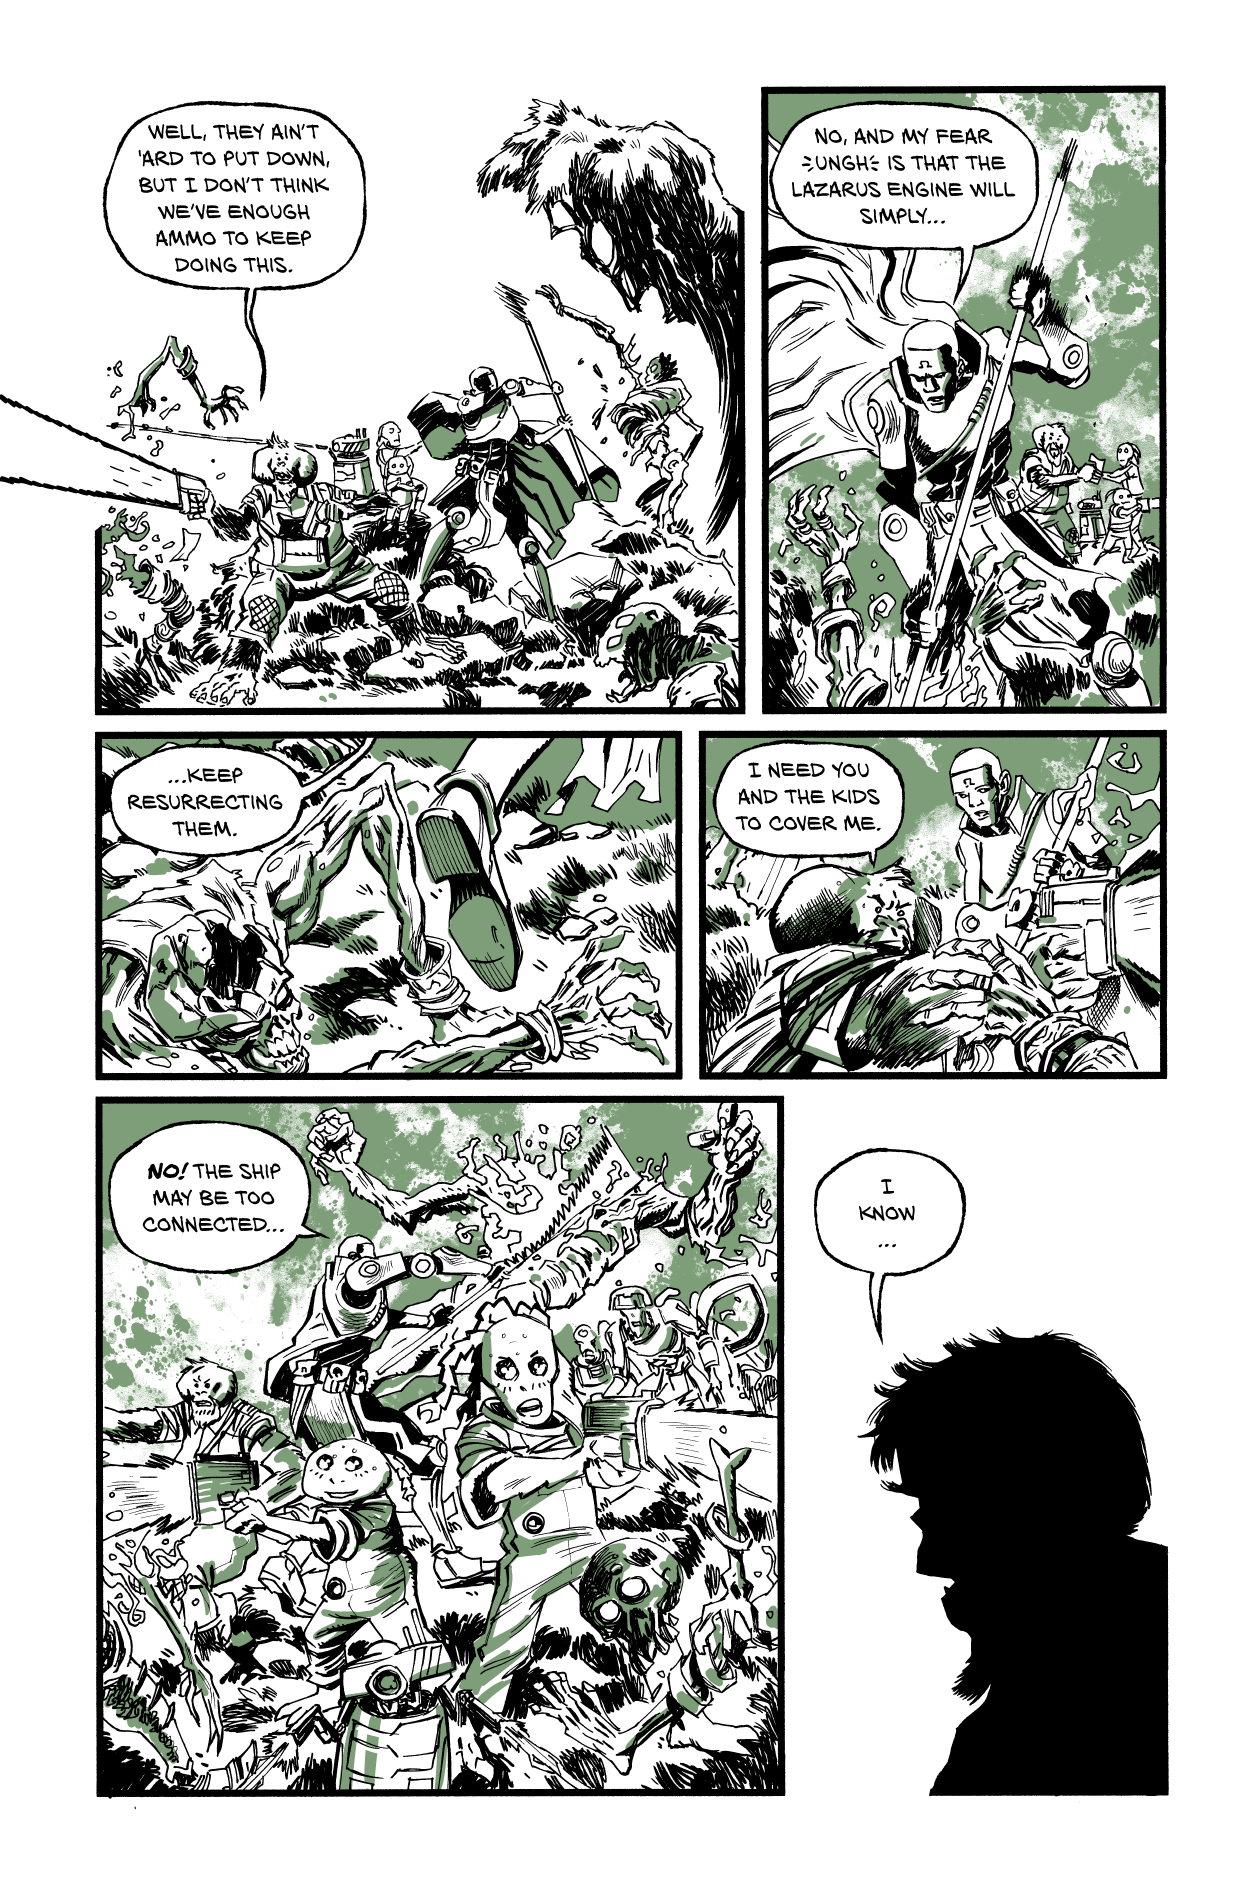
TO: The Ghosts of War Part 2 Page 12
3 2260 May 09, 2026
-
5
TO: The Ghosts of War Part 2 Pages 10-11
9 2228 May 09, 2026
-
6

TO: The Ghosts of War Part 2 Page 9
1 2032 May 09, 2026
-
7
TO: The Ghosts of War Part 2 Page 8
5 2227 May 09, 2026
-
8
TO: The Ghosts of War Part 2 Page 7
3 2101 May 09, 2026
-
9
TO: The Ghosts of War Part 2 Page 6
2 2192 May 09, 2026
-
10
TO: The Ghosts of War Part 2 Page 5
2 2176 May 09, 2026